
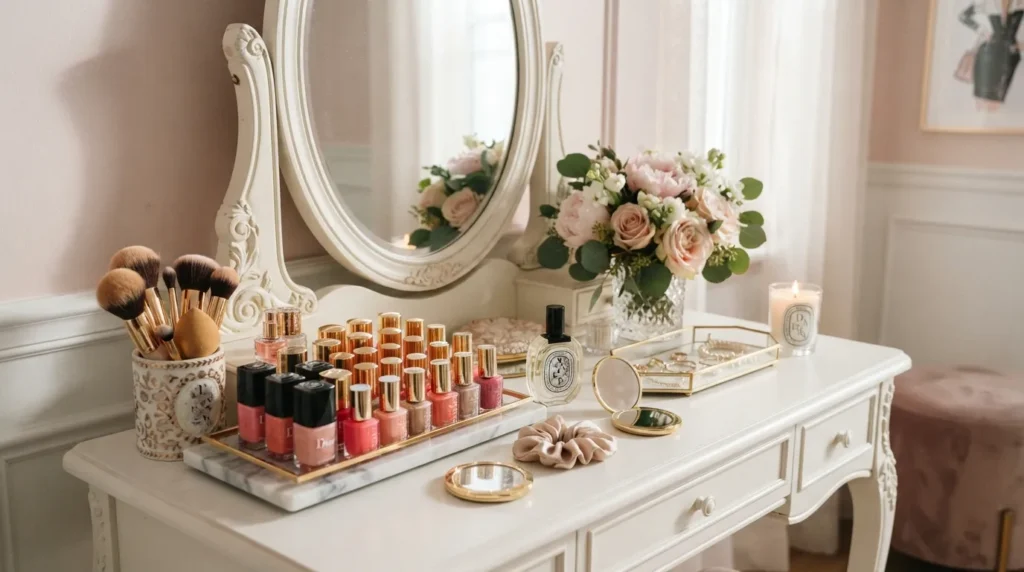
Fun lacquer is a versatile, high-shine coating applied to wood, metal, or nails to add bright color and strong protection. It dries rapidly to form a durable, slick shield. Craft lovers use it to transform plain everyday items into vibrant, glossy showpieces with minimal effort and quick cleanup.
Have you ever picked up an old wooden tray or plain box and wished it had a glass-like splash of bright color?
That instant gloss and popping shade come from using fun lacquer on your favorite DIY projects.
Whether you want to revive beat-up furniture or paint custom nail art, learning to work with fun lacquer opens up an exciting creative playground.
Let’s explore how this smooth, shiny finish works and how you can start making incredible crafts at home today.
What Exactly Is Lacquer and Why Is It So Fun to Use?
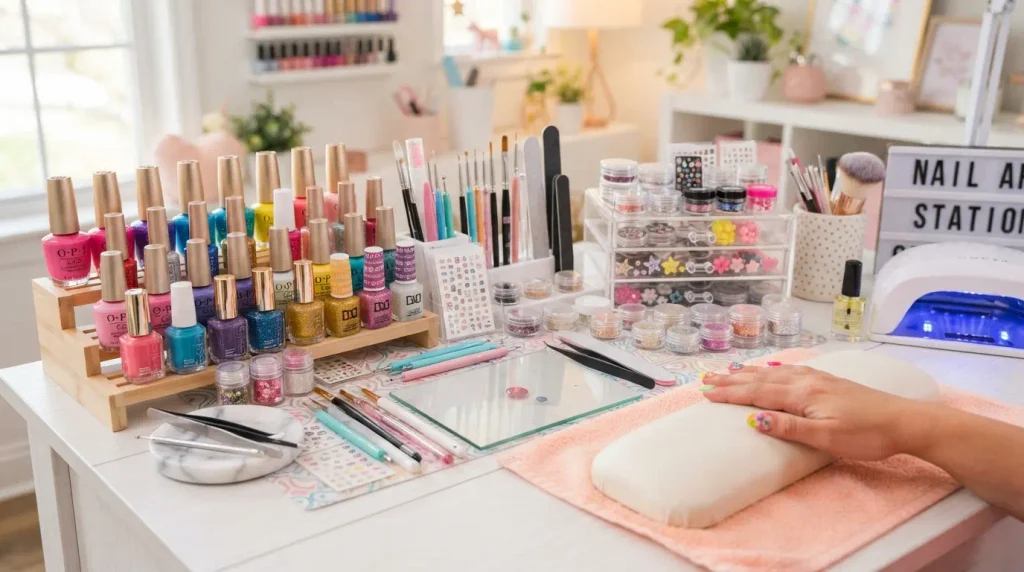
Lacquer is a protective coating that dries through solvent evaporation, leaving behind a hard, ultra-glossy shell. Unlike traditional oil paints that take days to cure, lacquer forms a solid barrier in a fraction of the time.
Crafters love this fast-drying property because you can apply multiple coats in a single afternoon. That means less time waiting around for paint to dry and more time admiring your finished creation.
The Surprising Science Behind the Sheen
When you brush or spray liquid lacquer onto a surface, thinners inside the liquid quickly turn into gas and vanish into the air. This rapid reaction leaves behind tough resin molecules locked tightly together.
Because the resin sets so flatly, light bounces right off the surface like a mirror. That high reflectivity creates the deep, liquid-like shine that makes lacquered objects stand out in any room.
A Quick Peek at Lacquer’s Rich History
People have been using natural tree sap lacquer for thousands of years, starting in ancient Asia where artisans spent months coating wooden bowls and chests. They applied dozens of paper-thin layers to build up indestructible, waterproof surfaces.
Today’s modern formulas use safe synthetic resins that deliver that same incredible shine in minutes rather than months. You get all the historical charm and durability with modern convenience.
Popular Types of Lacquer for DIY Crafters
Choosing the right type of finish depends entirely on the material you are working with and how you plan to apply it. Each formula brings unique perks to your workbench.
Acrylic Spray Lacquer
Spray cans offer the easiest entry point for beginners looking to experiment with colorful coatings. The aerosol mist coats uneven surfaces, carved wood details, and metal mesh evenly without leaving brush marks behind.
It works wonderfully on picture frames, small clay sculptures, and plastic figurines. Just remember to shake the can well for a full minute to mix the pigments thoroughly.
Brush-On Nitrocellulose Lacquer
Nitrocellulose lacquer is a favorite among woodworkers and instrument makers because it sinks deep into wood grain while building a clear, protective shield.
- Rich Depth: It highlights natural wood patterns while adding a warm, golden tint over time.
- Easy Repairs: Fresh coats melt directly into older layers, making touch-ups nearly invisible.
- Smooth Sanding: You can sand it easily between coats to achieve a perfectly flat, glass-like surface.
Clear Topcoats vs. Colored Lacquers
Clear topcoats act like an invisible shield over painted surfaces, protecting underlying colors from scratches, water rings, and dust. They preserve the original artwork while adding high shine.
Colored lacquers contain heavy pigments that stain and seal simultaneously. They give plain objects a bold, uniform color with a built-in shine, saving you from applying separate paint and topcoat layers.
Comparing Popular Lacquer Types for Crafters
Navigating the world of finishes is an exciting adventure because no two formulas offer quite the same application experience or final look. While all high-gloss coatings share a commitment to fast drying times and glass-like shine, subtle differences in delivery methods, solvent bases, and pigment levels can dramatically change your project’s outcome. Comparing these popular options helps you match the right formula to your workspace and material, ensuring you get flawless results on every craft you tackle.
Aerosol Spray Lacquers for Quick Touch-Ups
Aerosol spray cans are the ultimate tool for crafters who want speed, convenience, and a completely seamless finish. Because the liquid atomizes into a fine mist as it leaves the nozzle, it settles onto tricky surfaces—like carved wood details, wicker, or metal filigree—without creating pooling or brush marks. It is an ideal choice for transforming smaller accent pieces like picture frames, decorative bowls, or metal figurines in a single afternoon.
Brush-On Nitrocellulose Finishes for Woodwork
When working with flat wooden surfaces, furniture, or musical instruments, traditional brush-on nitrocellulose formulas offer unmatched depth and control. This classic option melts slightly into previously applied layers, building up a thick, durable shield that highlights natural wood grains with a warm, golden tone. While it requires a steady hand and a well-ventilated space, the resulting rich finish can be sanded and buffed to a mirror-like shine that lasts for generations.
Water-Based Clear Coats for Indoor Crafting
If you love working on paper crafts, canvas art, or indoor home decor, water-based clear coatings provide a low-odor, eco-friendly alternative to solvent-heavy liquids. These formulas dry surprisingly fast without emitting harsh chemical fumes, making them much safer to use in home craft rooms or apartments. Cleanup is a breeze using just warm water and soap, yet the cured topcoat still provides impressive clarity and protection against dust and minor scuffs.
Essential Tools and Safety Gear You Need
Working with shiny finishes is exciting, but preparing your workspace correctly ensures a fun and safe crafting session every time.
Ventilation and Airflow Setup
Most traditional lacquers emit strong fumes as their solvents evaporate into the air. Always work outdoors on a warm driveway or inside a garage with open doors and fans running.
If you must work indoors, open windows wide and set up a small box fan pointing outward to push fumes out of the room. Good airflow also helps the finish cure much faster and clearer.
Protective Wear for Health and Cleanliness
Protecting your body while spraying or brushing prevents headaches and keeps sticky spots off your skin and clothes.
- Safety Goggles: Protect your eyes from unexpected spray drift or liquid splashes.
- Respirator Mask: Wear an organic vapor mask to avoid breathing in chemical fumes.
- Nitrile Gloves: Keep your hands clean and prevent skin irritation from solvents.
Step-by-Step Guide to Applying Lacquer Like a Pro
Achieving a flawless finish comes down to patience, preparation, and proper technique. Follow these steps to transform ordinary craft items into glossy treasures.
Step 1: Surface Preparation
Clean your project piece thoroughly with warm water and mild soap to remove oil, dirt, and finger smudges. Any leftover dust underneath the coating will create bumpy spots on your final finish.
Once dry, gently sand the item with 220-grit sandpaper to create subtle scratches. These microscopic grooves give the liquid something to grip onto securely.
Step 2: Applying the Base Layer
Hold your spray can about 8 to 12 inches away from the item’s surface. Begin spraying just off to the side, then sweep the stream across the object in a smooth, steady motion.
Avoid holding the spray in one spot for too long. Thin, light passes prevent runs, drips, and pooling along the edges.
Step 3: Sanding and Recoating
Let the first layer dry completely, which usually takes around fifteen to twenty minutes. Check the surface for small dust nibs or uneven areas.
Pass a piece of fine 400-grit sandpaper lightly over the surface to smooth away small imperfections. Wipe off the sanding dust with a clean microfiber cloth, then apply your second coat.
Step 4: Final Polishing
After applying three to four thin coats, allow the item to cure untouched for twenty-four hours. This allows the finish to harden completely throughout all layers.
For extreme shine, rub a small drop of automotive polishing compound over the surface using a soft cotton cloth. Circular motions polish away microscopic scratches, revealing a crystal-clear mirror glow.
Creative Projects to Try with Fun Lacquer
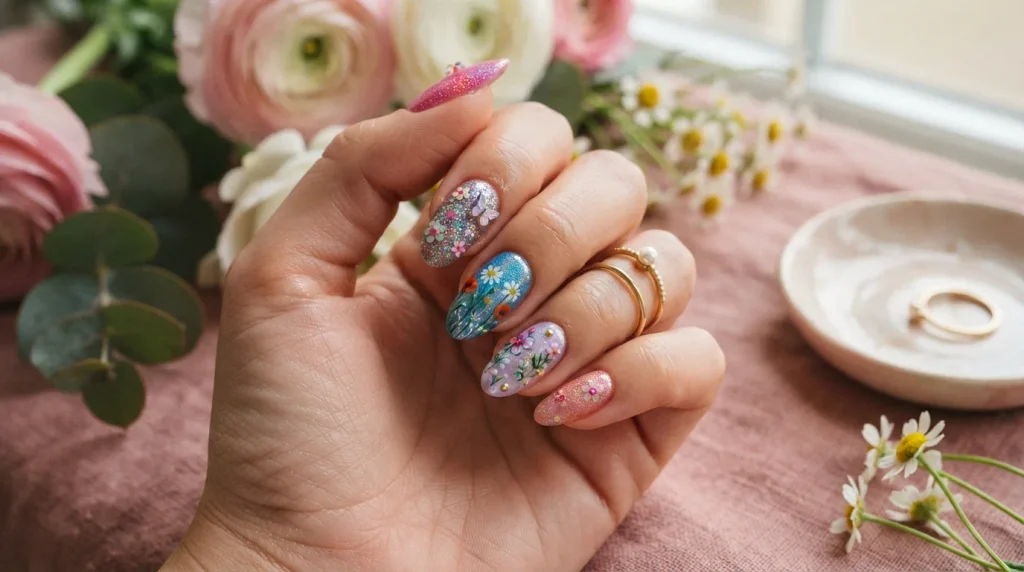
Once you master basic application techniques, you can tackle dozens of exciting DIY projects around your home.
Transforming Thrift Store Finds
Old wooden picture frames, dull lamp bases, and plain wooden bowls frequently fill thrift store shelves for just a few dollars. Giving them a fresh coat of bold colored finish brings modern life to forgotten items.
Try coating a plain wooden serving tray with a bright teal finish. Add brass handles to the sides for an instant, high-end centerpiece that looks custom-made.
Customizing Small Accessories and Jewelry
Wooden beads, metal bangles, and resin charms turn into high-fashion jewelry when dipped into glossy coatings.
Dip-Drying Technique for Beads
String wooden beads onto a thin wire or toothpicks. Dip each bead directly into a jar of colorful finish, pull it out slowly, and let the extra liquid drip back into the container.
Stick the toothpicks into a block of styrofoam while they dry. The liquid settles evenly around the sphere, drying into a perfectly smooth bead with zero brush strokes.
Waterproofing Coasters and Desk Props
Paper collage coasters and painted stone desk ornaments need strong protection against water spills and cup rings.
Applying three clear topcoats over your hand-drawn art or photos seals the edges tight. Water slides right off the surface, keeping your artwork safe and vibrant for years.
Troubleshooting Common Lacquer Mistakes
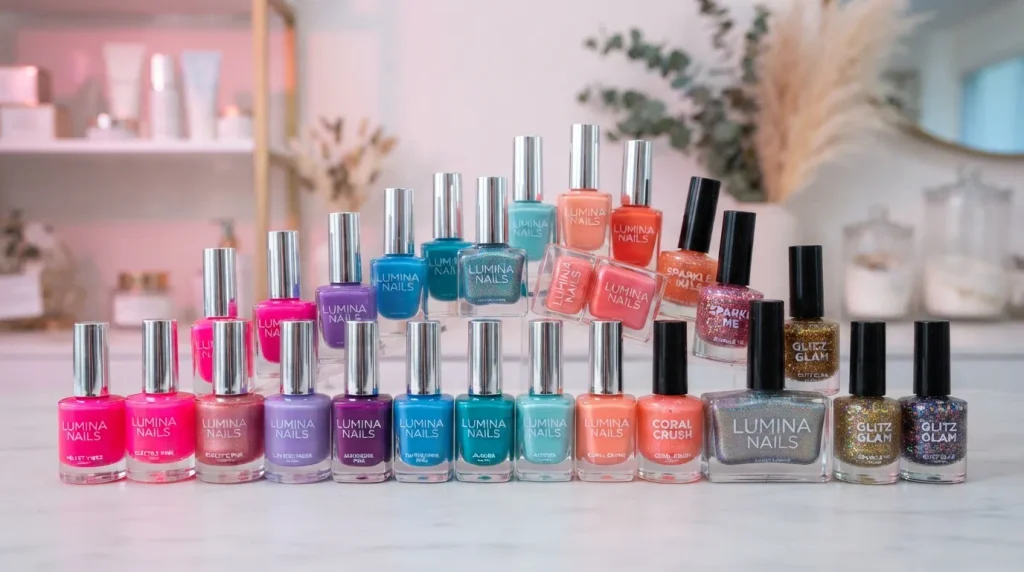
Even experienced crafters encounter occasional bumps in the road. Knowing how to fix mistakes keeps your projects moving forward smoothly.
How to Fix Cloudy or Blushed Finishes
If your finish turns milky or white while drying, moisture got trapped inside the liquid layer. This phenomenon, known as blushing, usually happens when crafting on humid or rainy days.
To fix blushing, wait for a dry, warm day with low humidity. Spray a very light coat of fresh clear finish directly over the cloudy area. The fresh solvents soften the underneath layer, letting trapped moisture escape freely.
Fixing Drips, Runs, and Sagging Paint
Drips happen when liquid collects too quickly on vertical surfaces before drying. Do not attempt to wipe away wet drips with a cloth, as this creates a mess.
Instead, let the drip harden completely for twenty-four hours. Use a sharp razor blade laid flat against the surface to scrape the high spot down gently, then sand it smooth before applying one final light coat.
Preventing Orange Peel Texture
An uneven, bumpy texture resembling fruit skin happens when spraying from too far away or when temperatures are too hot. The liquid droplets partially dry in the air before hitting your object.
Hold the can a bit closer and work in a cooler, shaded space. If orange peel occurs, let it dry, sand the bumps flat with 320-grit sandpaper, and reapply with steady sweeps.
Practice Exercise
Test your knowledge on craft finishes, safety rules, and project techniques!
- What is lacquer commonly used for?
A) Adding a decorative or protective coating
B) Cooking food
C) Cleaning windows
D) Making paper - Which type of lacquer is commonly associated with nail products?
A) Nail lacquer
B) Wood glue
C) Wall cement
D) Fabric dye - What can make a lacquer finish look more interesting?
A) Different colors and effects
B) Plain cardboard
C) Water only
D) Sand - Which finish can lacquer have?
A) Glossy
B) Shimmery
C) Metallic
D) All of the above - What is a common feature of nail lacquer?
A) It adds color to nails
B) It washes clothes
C) It repairs shoes
D) It colors walls - Which item can be used to apply nail lacquer?
A) Nail polish brush
B) Paint roller
C) Cooking spoon
D) Hairbrush - Why are different lacquer shades popular?
A) They allow creative style choices
B) They make food taste better
C) They clean furniture
D) They replace soap - Which effect can create a playful lacquer look?
A) Glitter
B) Shimmer
C) Holographic effects
D) All of the above - Which color family can be used in a fun lacquer collection?
A) Pink and purple
B) Blue and green
C) Red and orange
D) All of the above - What can a carefully applied lacquer finish provide?
A) A polished appearance
B) A cooking surface
C) A paper texture
D) A wooden structure
✅ Answer Key
- A
- A
- A
- D
- A
- A
- A
- D
- D
- A
FAQs
Can you apply lacquer directly over acrylic paint?
Yes, you can apply clear topcoats over acrylic paint once the paint dries completely. Make sure the base layer cures for twenty-four hours so moisture does not get trapped under the clear shell.
How do you clean lacquer off paintbrush bristles?
Use lacquer thinner or acetone to dissolve the dried resin from brush bristles. Plain water and dish soap will not dissolve solvent-based coatings, so chemical solvents are necessary for proper brush cleanup.
Is clear lacquer completely waterproof for outdoor items?
It offers strong water resistance, but prolonged direct exposure to rain and UV rays can break down the finish. For outdoor garden projects, choose a marine-grade exterior clear coat for maximum weather protection.
Why is my spray finish leaving a rough sand-like texture?
A rough texture happens when you hold the spray can too far from the object. The liquid particles dry in mid-air before landing, creating tiny hard dots on the surface instead of a smooth film.
Can I apply lacquer over oil-based stains?
Yes, but the oil stain must dry completely first, which often takes 48 to 72 hours. Applying a fast-drying clear coat over a wet oil stain causes wrinkling, cracking, and peeling.
Is lacquer safe for wooden toys and children’s items?
Once fully cured for several days, most clear finishes are non-toxic and safe for handling. However, always check the product label specifically for child-safe certifications before coating toys intended for young toddlers.
Conclusion
Working with fun lacquer lets you upgrade ordinary household objects with stunning colors and a glassy, protective shine.
By following safety steps, preparing surfaces carefully, and applying thin, even coats, you can create professional-looking crafts at home.
Grab a plain project piece, set up a ventilated workspace, and start experimenting with these vibrant finishes to make your creative ideas shine bright!

Asjad Ali is a passionate, fun, and entertainment enthusiast who enjoys discovering interesting, amusing, and engaging content from around the web. Through laughvista.com, Asjad shares lighthearted ideas, entertaining stories, fun facts, jokes, and enjoyable content designed to bring a little more laughter and positivity into everyday life. His goal is to create content that feels natural, relatable, and easy for everyone to enjoy.
With a genuine interest in fun and entertainment, Asjad Ali focuses on creating friendly content for readers of different ages and backgrounds. laughvista.com is built around the idea that a few moments of laughter can brighten anyone’s day. Whether readers are looking for something funny, interesting, or simply entertaining, Asjad aims to make every visit enjoyable, refreshing, and worth coming back to.