
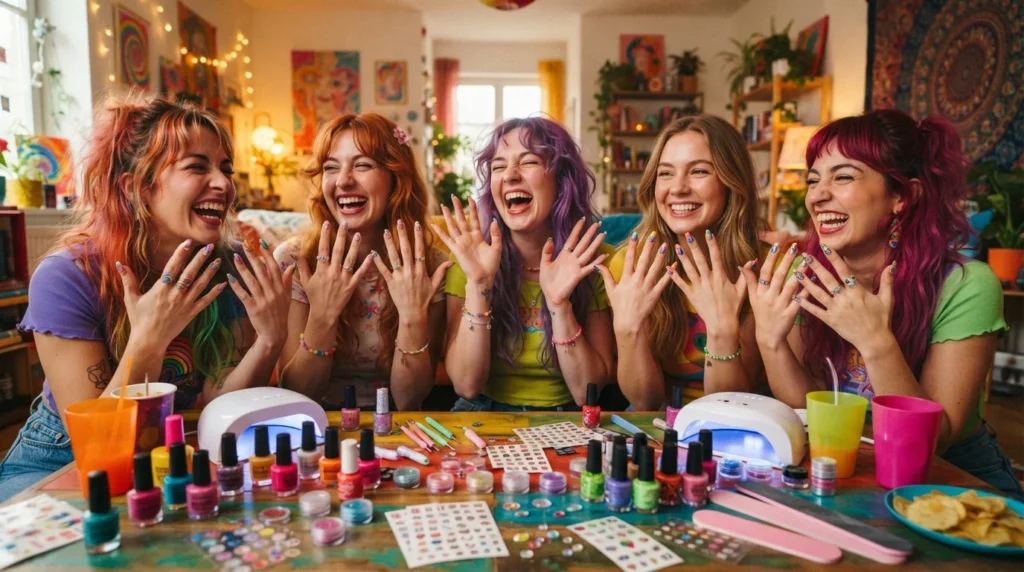
Creating a fun nail look is all about expressing your unique personality through vibrant colors, playful patterns, and creative artistic techniques. From simple polka dots to trendy chrome finishes, a fun nail style brightens your mood, boosts your confidence, and serves as an accessible canvas for self-expression.
Have you ever glanced down at your hands mid-day and wished your manicure brought a quick smile to your face? Expressing your personal style through a fun nail design is one of the easiest ways to add a splash of joy to your routine.
Whether you prefer bright summer swirls, subtle glitter accents, or playful geometric shapes, there are endless ways to style a fun nail look at home. You do not need to be a professional manicurist to achieve stunning, long-lasting results.
Let us explore creative nail art techniques, essential DIY tools, and easy maintenance tricks that keep your manicure looking fresh and vibrant.
Why Expressive Nail Art Boosts Your Daily Energy
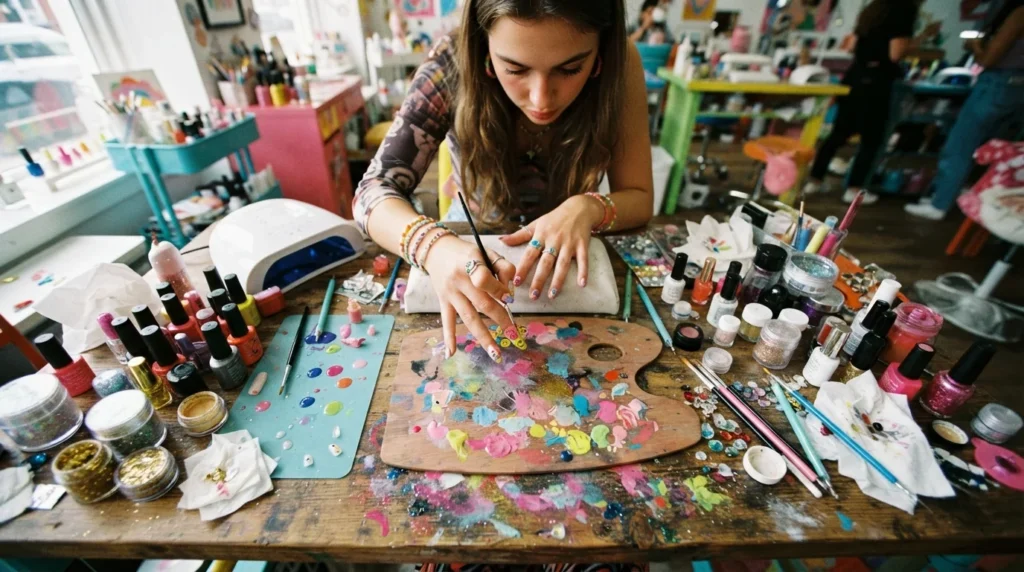
Wearing colorful, creative nail designs is more than just a beauty routine; it is a form of wearable art. Every time you type on a keyboard, drink your morning coffee, or wave hello, your hands capture attention.
Psychologists note that bright, cheerful colors can positively influence your daily mood and self-confidence. Choosing a fun nail style lets you experiment with new trends without committing to a permanent outfit change.
The Rise of DIY Nail Culture
In recent years, doing your own nails at home has transformed from a tedious chore into a relaxing self-care ritual. High-quality polishes, press-on sets, and easy-to-use tools make salon-level art accessible to everyone.
- Home nail kits save both time and money while encouraging personal creativity.
- Online tutorials make learning complex techniques simple for total beginners.
- DIY manicures let you change your look whenever your mood or outfit changes.
Choosing Colors That Match Your Mood
Color theory plays a massive role in how your manicure feels. Bright yellow and fiery orange radiate high energy, while soft pastels bring a calming, friendly vibe.
If you are new to nail art, try pairing a neutral base with bold accent shades. This contrast makes any fun nail accent pop without overwhelming your overall look.
Beginner-Friendly Techniques for a Fun Nail Look
You do not need steady hands or years of practice to create eye-catching designs. Many of the most popular nail art trends rely on clever shortcuts and simple household items.
Starting with basic patterns helps you build control and confidence. Before you know it, you will be combining different methods to craft custom art.
The Magic of Polka Dots
Polka dots are timeless, simple, and infinitely customizable. You can use a dedicated dotting tool or simply unbend a bobby pin to dip into your favorite polish shade.
- Gently press the rounded tip of a bobby pin onto your nail to create perfect, even circles.
- Create a daisy flower pattern by placing five white dots around a single yellow dot.
- Vary dot sizes across each finger to create an energetic, cascading effect.
Simple Color Blocking and Stripes
Color blocking involves painting different geometric sections of your nail with contrasting shades. Striping tape or standard household painter’s tape helps you achieve razor-sharp lines effortlessly.
Apply your base color first and let it dry completely before applying tape strips. Paint over the exposed area with a second color, then peel the tape away while the polish is still slightly tacky.
Playful Sticker Accents and Decals
Nail stickers and water decals offer instant, detailed art without any hand-painting required. They are ideal for intricate designs like small hearts, stars, or fruit slices.
After placing your decal onto a dry nail, seal it with a generous layer of top coat. This step smooths out the surface and prevents the edges from peeling off during daily tasks.
Intermediate Nail Art Styles to Try Next
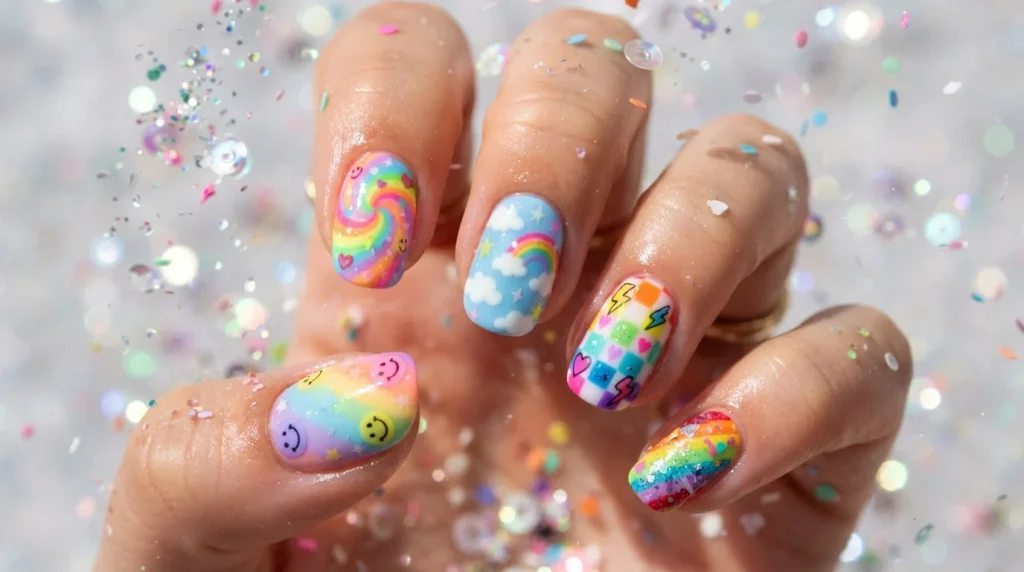
Once you have mastered dots and basic stripes, you can step up your nail art game with blended textures and dimensional finishes. These intermediate styles look complex but are surprisingly simple to execute.
Adding new textures gives your hands a high-end, professional appearance that turns heads.
The Ombré Gradient Effect
An ombré gradient seamlessly blends two or more polish shades on a single nail. The secret to achieving a smooth blend lies in using a simple makeup sponge.
- Paint a coat of latex tape or liquid barrier around your cuticle area for quick cleanup.
- Apply stripe lines of two different polish colors directly onto a dense makeup sponge.
- Gently dab the sponge onto your nail several times until the colors blend seamlessly.
- Remove the skin barrier and seal the gradient with a high-shine top coat.
Retro Swirls and Freeform Curves
Retro 1970s-inspired swirls are hugely popular because imperfection is part of their charm. You do not need straight lines or perfect symmetry to make this look succeed.
Using a long, thin detail brush, draw sweeping wavy lines across your nails in complementary colors. The organic shapes look flowy, modern, and delightfully playful.
Chrome Powders and Metallic Dusts
Chrome dusts transform standard cream polishes into liquid mirror finishes. You apply these fine powders by rubbing them directly onto a non-wipe gel top coat using a soft silicone applicator.
Gold, silver, and iridescent holographic finishes give a fun nail aesthetic a futuristic, high-fashion edge. They catch light dramatically under bright sun or indoor lighting.
Essential Tools Every Home Nail Artist Needs
Building a modest home nail kit makes crafting custom designs significantly easier and more enjoyable. You do not need to buy expensive salon equipment to get great results.
A few versatile, budget-friendly tools form the foundation of almost every creative manicure style.
Precision Brushes and Dotting Sets
A set of nail art brushes includes long stripers, short detailers, and angled cleanup brushes. Long stripers help you pull clean, continuous lines, while short detailers excel at tiny drawings.
Dotting tools usually come in double-ended wands with various ball sizes on each end. Cleaning your brushes with pure acetone immediately after use keeps the bristles soft and flexible.
Cuticle Oils and Preparation Essentials
Great nail art always starts with healthy, well-prepped natural nails. Neglecting cuticle care or nail shaping can cause even the most beautiful artwork to chip prematurely.
- A 180-grit glass nail file shapes natural nails smoothly without splitting the delicate edge layers.
- Wooden orange sticks push cuticles back gently without scratching the natural nail plate.
- Daily application of jojoba-based cuticle oil keeps surrounding skin soft, smooth, and snag-free.
Advanced Trends and Experimental Textures
If you enjoy staying ahead of beauty trends, exploring experimental nail textures offers endless creative space. Advanced styles incorporate light-reflecting particles and three-dimensional elements.
These high-impact designs are perfect for special occasions, holidays, or festival weekends.
Cat-Eye Magnetic Polishes
Cat-eye polishes contain ultrafine magnetic iron particles that move when exposed to a strong magnet. Before curing or drying the polish, you hold a small magnet close to the nail surface.
The metallic particles pull together to create a floating, velvety beam of light across your nail. Shifting your hand under light causes the dimensional line to roll across the surface like a gem.
3D Gel Drops and Raised Textures
Adding three-dimensional gel droplets creates a tactile, water-droplet effect that feels unique and modern. Hard building gels allow you to create raised ridges, sweater patterns, or realistic water drops.
Apply tiny dots of thick clear gel over a matte base coat for a striking contrast between shiny and dull finishes. The resulting dimensional look demands to be touched.
French Tip Twists with Neon Colors
The classic French manicure has received a vibrant modern update in recent seasons. Instead of traditional white tips, nail enthusiasts use neon shades, double arcs, or rainbow gradients.
Painting each fingertip a different bright color adds a subtle yet clear touch of fun nail flair. It remains professional enough for work while showcasing your creative side.
Prep Work Secrets for Long-Lasting Results
Nothing is more frustrating than spending an hour on a beautiful manicure only to have it chip the next day. Proper nail plate preparation makes all the difference in polish adhesion.
Taking an extra five minutes to prep your nails ensures your creative artwork lasts up to two full weeks.
Dehydrating and Cleaning the Nail Surface
Natural nails hold onto microscopic oils and moisture that prevent polish from bonding tightly. Cleaning the nail plate thoroughly removes these invisible barriers before you apply your base coat.
- Wash your hands thoroughly with oil-free soap before starting your manicure prep.
- Wipe each nail plate down with a lint-free wipe soaked in 91% isopropyl alcohol or acetone.
- Avoid touching your face or hair after cleaning your nails to prevent transferring natural oils back.
The Crucial Role of Base and Top Coats
Skipping your base coat or top coat is the fastest route to chipped polish and stained natural nails. A sticky base coat acts like double-sided tape, holding onto color polishes tightly.
A high-quality top coat seals your artwork beneath a protective barrier that guards against scratches, water damage, and daily wear. Reapplying a thin layer of top coat every three days extends your manicure’s lifespan significantly.
How to Remove Glitters and Textures Without Damage
Heavy glitters, gel extensions, and dark polishes look amazing, but removing them incorrectly can weaken your natural nails. Scrubbing aggressively with cotton pads often damages the top layer of your nail bed.
Using patient, proper removal techniques keeps your natural nails strong, flexible, and healthy for your next creative look.
The Foil Wrap Removal Method
The foil wrap technique uses concentrated acetone soaked against the nail to dissolve stubborn polishes gently. It is the safest way to remove thick glitter, gel polish, or 3D elements.
- Lightly buff the top shiny layer of your top coat using a fine-grit nail buffer.
- Saturate a small piece of a cotton ball with pure acetone and place it directly on your nail.
- Wrap a small square of aluminum foil tightly around your fingertip to trap heat and moisture.
- Wait ten to twelve minutes before gently sliding the foil and cotton off together.
- Push away softened polish residue using a wooden cuticle stick without scraping hard.
Post-Removal Hydration Routines
Acetone effectively removes polish, but it also strips moisture from your skin and natural nail beds. Restoring hydration immediately after removal prevents brittleness, peeling, and skin cracking.
Wash your hands thoroughly with warm water, then massage a generous amount of cuticle oil into each nail bed. Follow up with a thick hand cream to lock in moisture overnight.
Creative Inspiration for Every Season
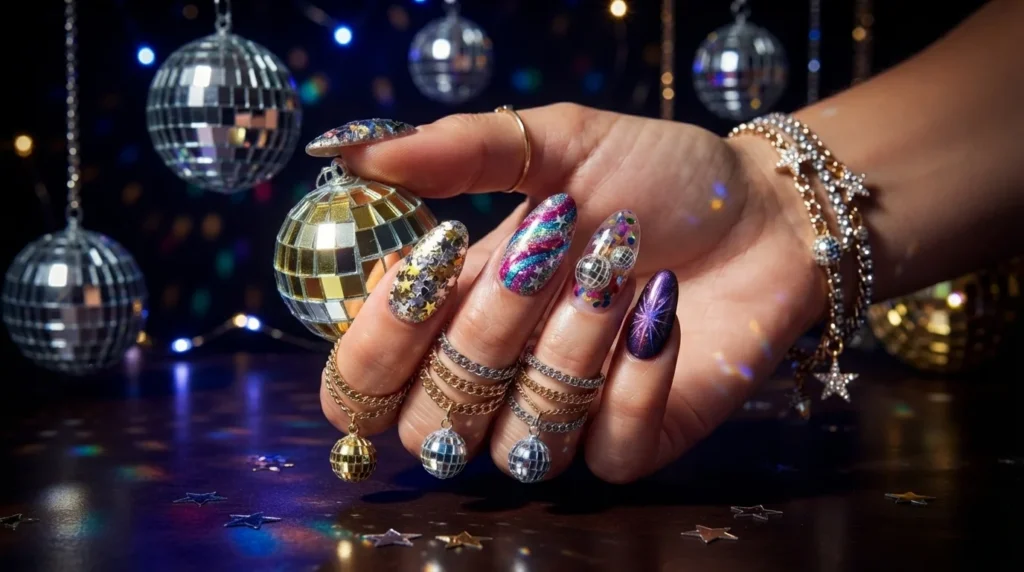
Adapting your nail designs to match changing seasons keeps your look feeling fresh all year long. Different seasons invite different color palettes, themes, and artistic mood boards.
Matching your manicure to seasonal vibes makes getting dressed each day even more fun.
Bright and Sunny Summer Styles
Summer calls for saturated neon shades, tropical fruits, and playful pool-party motifs. Bright coral, vivid turquoise, and sunny yellow dominate summer nail boards.
- Paint small watermelon slices or citrus wheels on an accent nail for a tropical mood.
- Use neon swirls over a nude base for a light, breezy festival look.
- Try holographic glitter toppers that sparkle brilliantly under direct sunlight.
Cozy Autumn and Winter Textures
When the weather cools down, rich jewel tones and cozy textures take center stage. Deep burgundy, forest green, mustard yellow, and chocolate brown create a warm aesthetic.
Matte top coats look particularly cozy during autumn, giving deep colors a velvet-like soft finish. Adding silver or gold foil flakes creates a subtle festive spark during holiday celebrations.
MCQs
- What common household item can easily replace a professional dotting tool for simple nail art?
A. A plastic spoon
B. An unbent bobby pin
C. A wooden ruler
D. A butter knife - Why is it important to clean the nail plate with alcohol before applying polish?
A. To make the polish dry instantly
B. To remove natural oils that prevent good polish adhesion
C. To change the natural color of your nail bed
D. To soften the nails for easier cutting - Which technique uses a dense makeup sponge to blend two polish colors smoothly?
A. Color blocking
B. Stamping
C. Ombré gradient
D. Chrome rubbing - What is the primary purpose of applying a base coat before your color polish?
A. To make the nail look shiny without color
B. To bond polish to the nail plate and prevent staining
C. To replace the need for a top coat
D. To dry the nail art faster - How do you activate the light-reflecting effect in cat-eye magnetic polish?
A. Exposure to direct sunlight
B. Soaking the nails in ice water
C. Holding a magnet close to the wet polish
D. Buffing the dry polish with a towel - Which tool helps create sharp, clean lines when doing color blocking?
A. Painter’s tape or striping tape
B. Cotton swabs
C. A metal cuticle pusher
D. A large blush brush - What type of top coat gives deep polish colors a soft, non-shiny finish?
A. High-gloss gel top coat
B. Quick-dry glossy top coat
C. Matte top coat
D. Metallic chrome top coat
Answer Key
- B
- B
- C
- B
- C
- A
- C
FAQs
How can I make my home nail art last longer?
Prep your nail plate thoroughly by removing natural oils with alcohol before applying polish. Always use a quality base coat, seal free edges with top coat, and reapply top coat every few days.
What is the easiest nail art style for complete beginners?
Polka dot designs and simple accent nails are the easiest styles for beginners. Using a bobby pin tip lets you place neat dots and simple daisy patterns without needing advanced painting skills.
How do I prevent my polish from chipping on the edges?
Cap the free edge of your nail by running the polish brush horizontally along the very tip during every coat. This seals the front edge and prevents water from lifting the polish.
Can I do creative nail art on short natural nails?
Yes, short nails offer a fantastic canvas for creative designs like mini dots, French tip twists, and color blocking. Keeping patterns micro-sized ensures your short nails look balanced and elegant.
Is cuticle oil really necessary for good nail art?
Yes, daily cuticle oil keeps the surrounding skin soft and prevents painful hangnails that spoil your manicure’s look. It also keeps natural nails flexible, reducing the chance of polish snapping.
How do I fix a smudged nail without starting over?
Dip your fingertip lightly in polish remover and gently smooth down the smudged area while it is still soft. Once dry, apply a thin layer of color over the spot and seal with top coat.
Conclusion
Expressing your personal style through a fun nail design is an enjoyable, rewarding way to brighten your day. With basic tools like dotting wands, painter’s tape, and colorful polishes, anyone can create impressive salon-worthy art at home.
Remember that practice brings confidence, and minor imperfections only add unique handmade charm to your creations. Take good care of your natural nails, experiment with seasonal colors, and enjoy the creative process!
Grab your favorite polish shades today, try out a simple polka dot or swirl pattern, and show off your new custom manicure with pride!

Asjad Ali is a passionate, fun, and entertainment enthusiast who enjoys discovering interesting, amusing, and engaging content from around the web. Through laughvista.com, Asjad shares lighthearted ideas, entertaining stories, fun facts, jokes, and enjoyable content designed to bring a little more laughter and positivity into everyday life. His goal is to create content that feels natural, relatable, and easy for everyone to enjoy.
With a genuine interest in fun and entertainment, Asjad Ali focuses on creating friendly content for readers of different ages and backgrounds. laughvista.com is built around the idea that a few moments of laughter can brighten anyone’s day. Whether readers are looking for something funny, interesting, or simply entertaining, Asjad aims to make every visit enjoyable, refreshing, and worth coming back to.